|
Tech
Tip #4 - Replacing the O-Rings in Single Line OMC Tanks
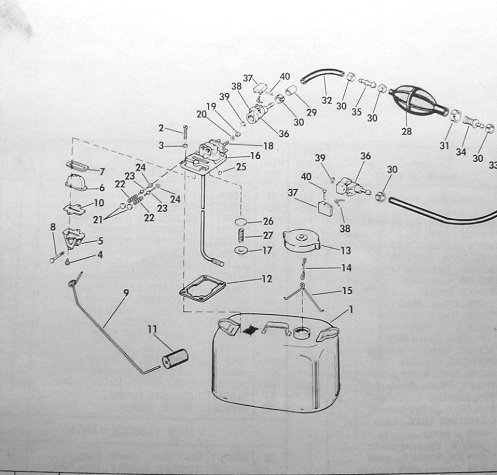
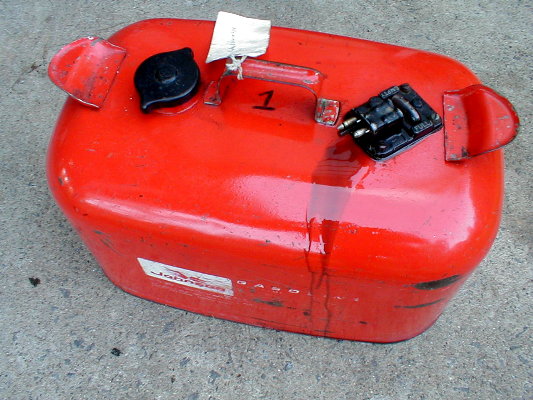
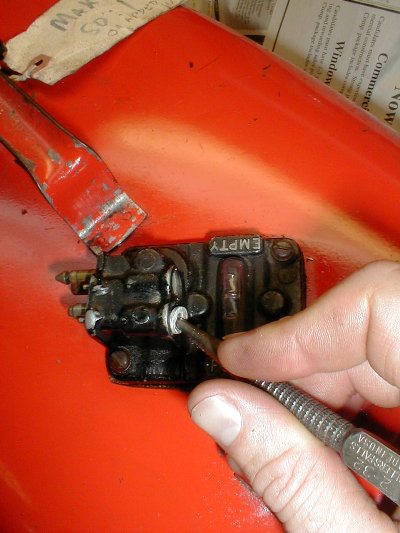
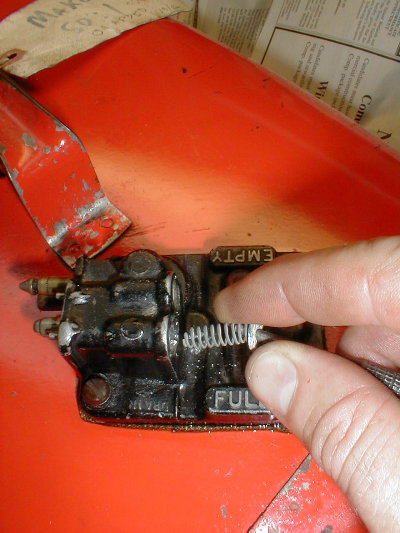
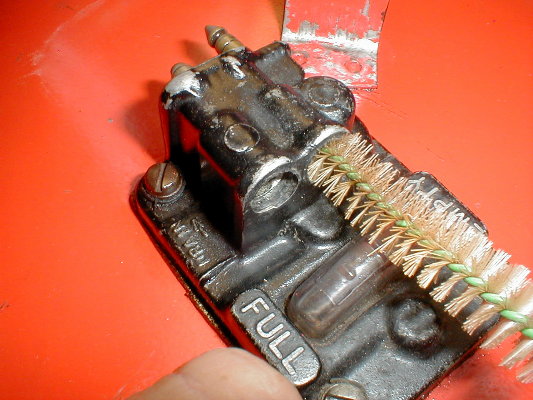
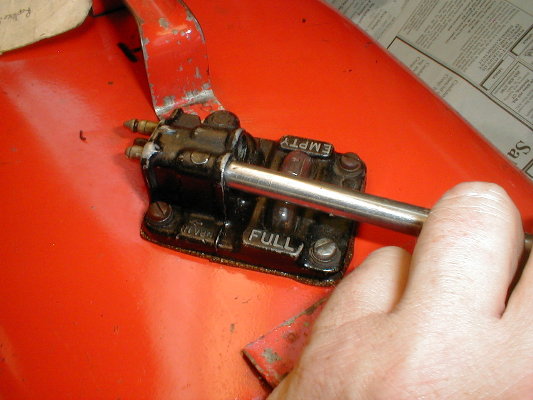
Please use common sense when working on anything involving gasoline. Practice good shop techniques and work safely and cleanly. Don't forget to visit our DISCLAIMER before you contemplate doing anything presented on this website. The ubiquitous 6-gallon single line tanks manufactured by OMC under the Johnson, Evinrude and OMC names are an excellent design and highly useful. Due to the additives in modern oxygenated fuels many of the rubber components in older fuel systems must be replaced and these tanks are not immune to problems. If you notice leakage from an OMC single-line tank there could be several causes. The most obvious are; a hole in the tank, failed gasket on the gauge/pick-up assembly, bad hose or connectors or a leaking gas cap. If all of these items are ruled out the cause could be deteriorated o-rings in the pick-up assembly. The OMC single line tanks were designed with shut-offs for both the fuel and air. These are actuated by two small pins that are directly above where the connector plugs into the gauge/pick-up assembly. When the connector is attached the pins are depressed and fuel and air can flow from the tank. With the connector off the pins spring out closing off the fuel and air vent making the tank safe to transport. These pins should be easily depressed by hand and should have a direct spring action and not feel "gummy". A sure sign of trouble is when you have leave an unconnected tank in the hot sun and come back to fuel everywhere. Also, when you have the tank connected to your fuel hose and note fuel weeping out of the pin above the fuel barb this is another telltale sign that the o-rings are going bad. If left uncorrected, tanks exposed to temperature changes can literally pump themselves dry in a few days! Due to the potential danger of leaking fuel, the high cost of fuel, not to mention the cleanup and environmental impact, a leaking tank is something that needs attention. The repair of the o-rings is a very simple job and takes only about 20 minutes. You can even do it without removing the gauge/pick-up assembly from the tank. The parts are readily available from your local Evinrude/Johnson dealer though the chances are they will need to order them. Because of this you may need to purchase all eight o-rings and core plugs since that is how they are packaged by BRP. (enough to do 4 tanks) My own local dealer, in business for almost 50 years, had never done this job! Here is what you need:
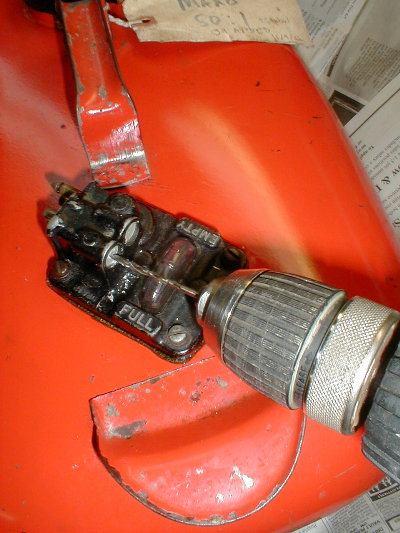
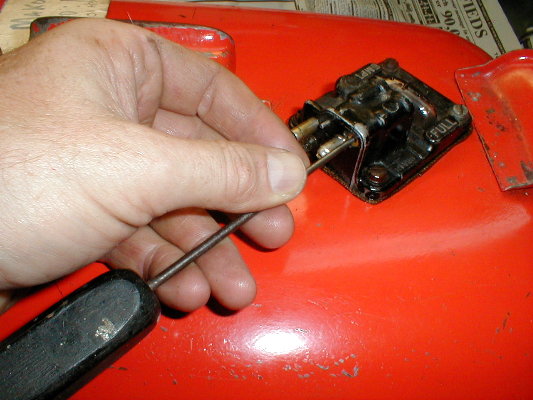
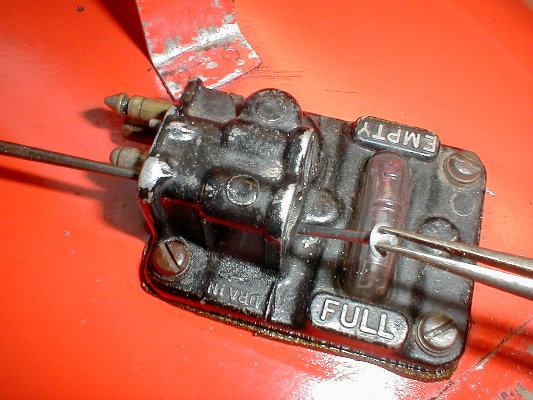
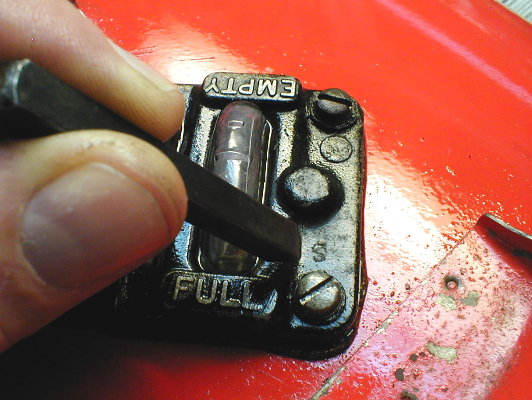
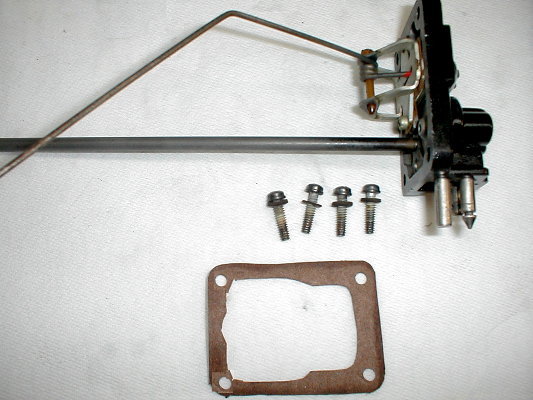
Obviously you must do this with a 100% empty, dry, clean tank with no fuel vapor - not even near any combustables! Here's how to do it:
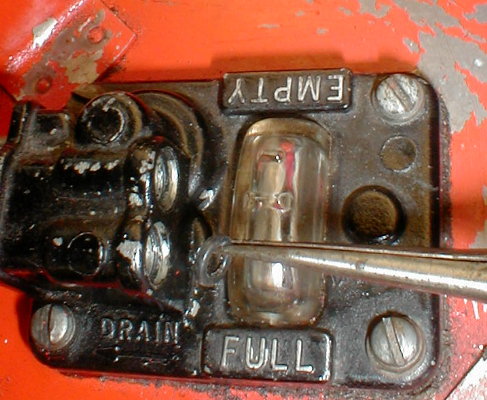
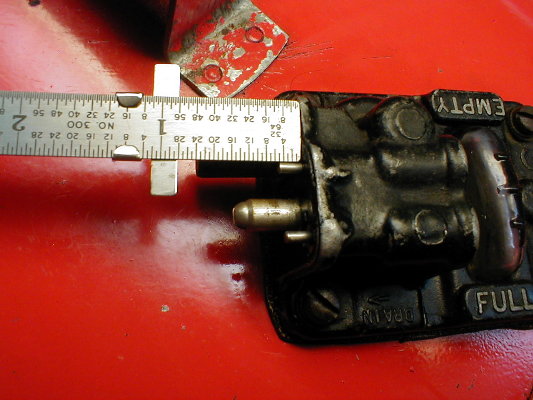
Many of these tanks also have a small brass insert and o-ring on the outside of the fuel pin - in a later Tech Tip we will cover replacing that o-ring.
Please use common sense when working on anything involving gasoline. Practice good shop techniques and work safely and cleanly. Don't forget to visit our DISCLAIMER before you contemplate doing anything presented on this website. |