|
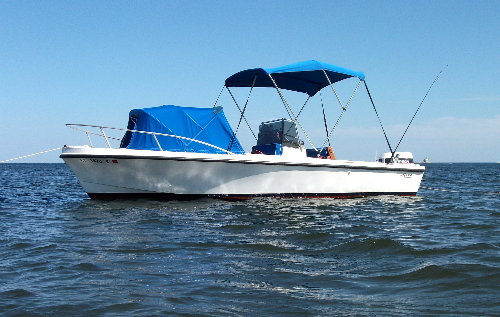
1967
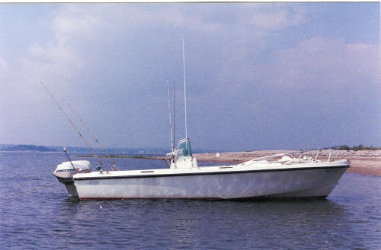
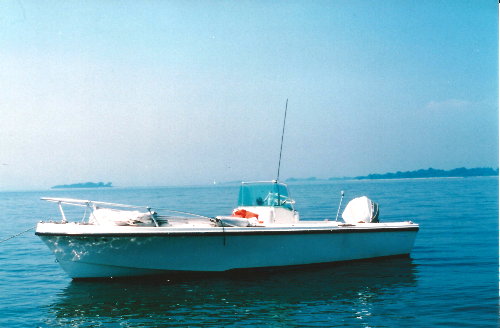
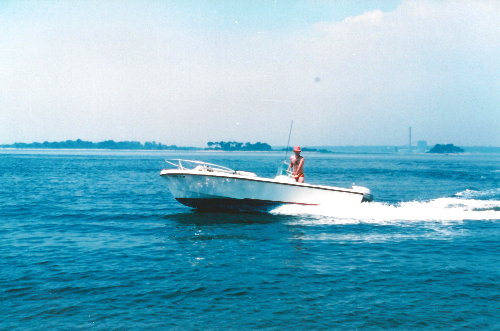
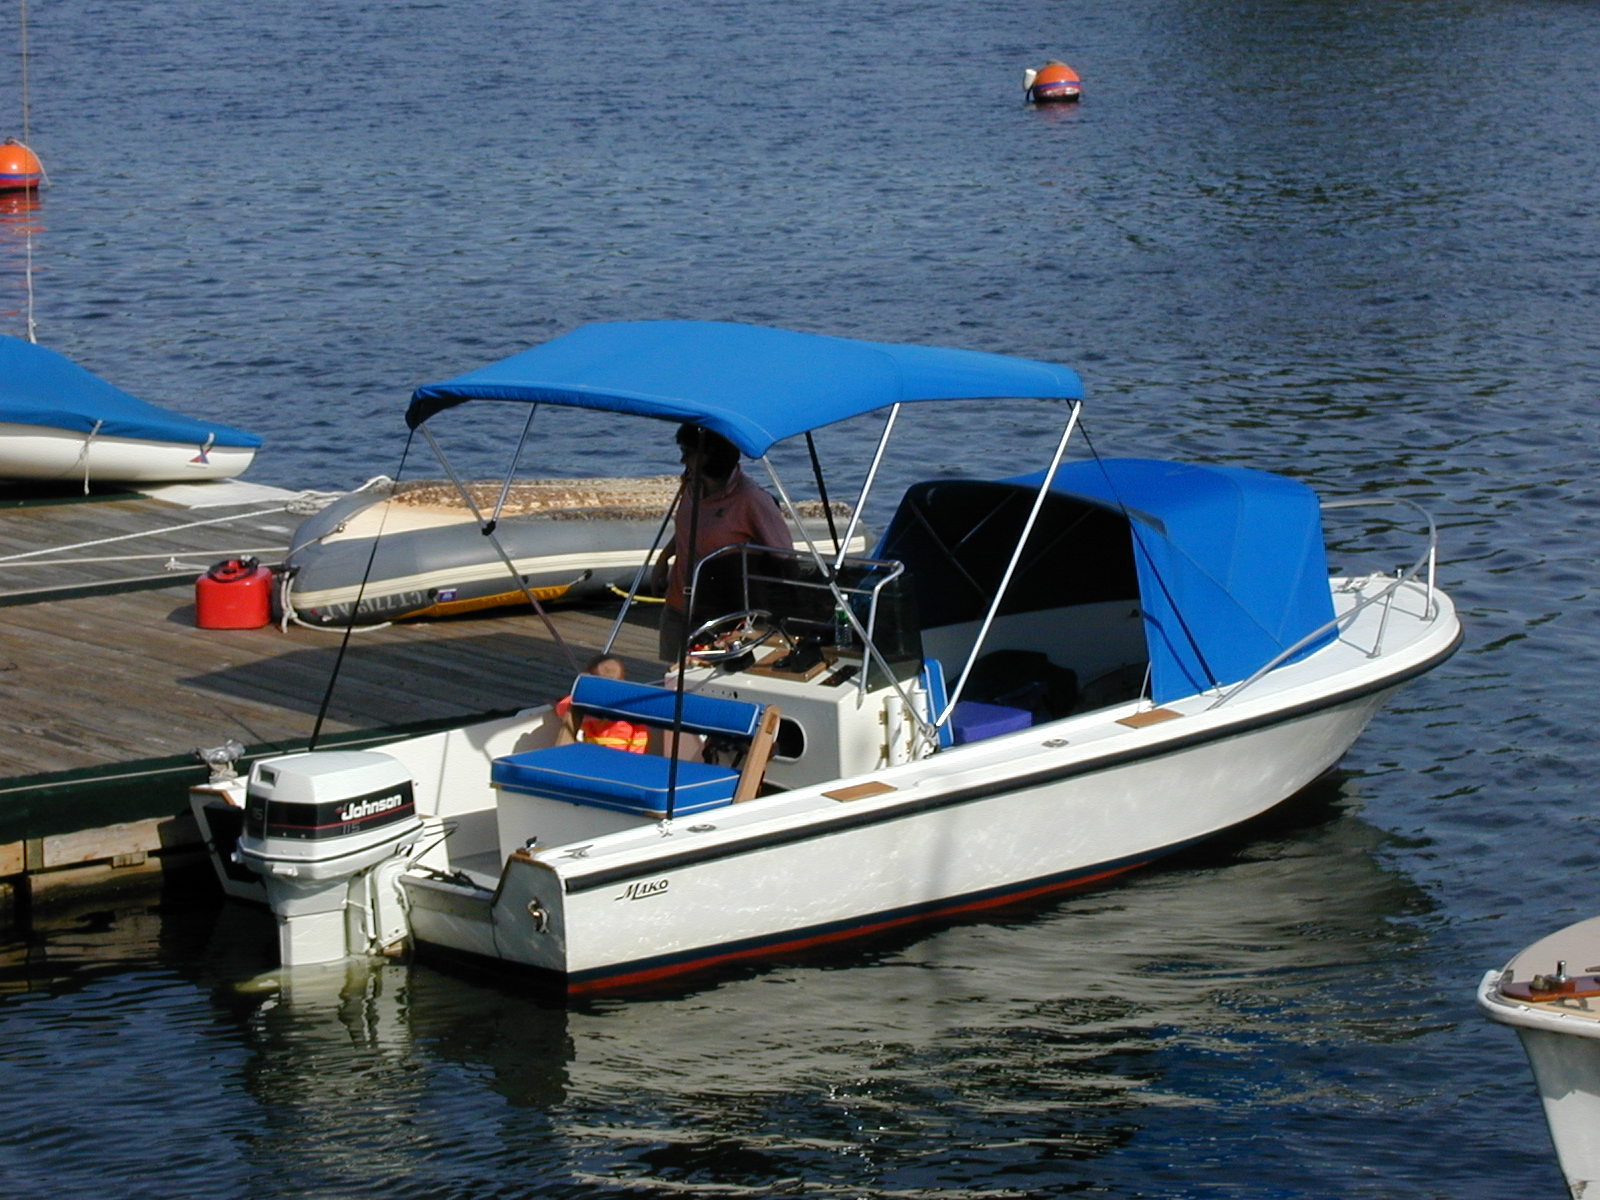
Mako 19 Back in 1999 I wrote Mako Marine about my boat and received an interesting reply - they had never heard of a boat as old or with as low a hull number as mine! (#191031 - i.e. Mako 19 hull # 31) Apparently the oldest Mako they were aware of was from 1968. This prompted me to search through the DMV in our state to identify the previous owners of my boat. The DMV confirmed that the boat was first registered in 1967 and provided a list of the previous owner's names. My research enabled me to connect with the original owner and second owner of the boat who were very pleased that she was still going strong! The first owner told me that the boat was delivered to the Darien Bait Shop in March or April of 1967 and was the first Mako on Long Island Sound. (Today The Bait Shop is in Rowayton, but still sells Makos!) Each of the owners sent me pictures and stories of the boat during their ownership and the second owner even stopped by and visited with me! Via this website I received an email a few years back from the son of the founder of Mako. He had worked at the company from the early 1970s through the 1990s and this web page came to his attention though a post on one of the on-line boating boards. Through our correspondence he confirmed that the construction and details on my boat were correct for the very earliest boats built - and he was not aware of another boat with a lower hull number. This raises the question, could my boat be the oldest Mako still in service?
BACKGROUND My initial survey determined that the boat was no longer floating on, or even close, to it's original waterline. We only used her a few times the summer of 1997 since I noticed the boat was leaking a bit and could feel her work under my feet in any sea - I didn't think it prudent to go far until I had a chance to check things out. One day I reached in the aft inspection port and grabbed a chunk of the styrofoam flotation. It was completely saturated with water, old 2-stroke and mold. It smelled and looked nasty! On pulling the boat out at the end of the '97 season, I also noticed that the starboard side trailer bunk made a significant indent in the bottom of the hull indicating that something structural was amiss. I really liked the versatility and size of the boat and thought it was worth an investment of time and money to rebuild her. I had had some experience working with fiberglass but nothing on this scale. My friend Dave & his wife Sheila, who run our local boat repair shop, were willing to help me tackle this project for a reasonable cost provided I pitched in and did much of the "grunt" work.
WE CAN REBUILD HER - BETTER, STRONGER, FASTER!
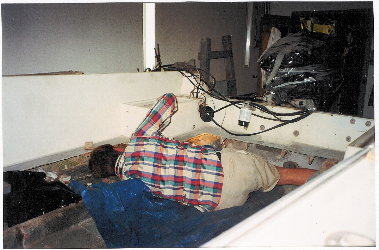
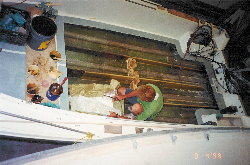
I thought it odd that Mako built the bottom with only three stringers, but put six under the deck! The deck was very well built and weighed a lot! It also had 1/2" x 14" plywood running side to side for support and to bolt the console into. The PVC tube that the teleflex and wiring ran through was very permanently fiberglassed in, we had a devil of a time with it when lifting the deck. Eventually we cut it out completely, as you may be able to see on the extreme left of the picture above.
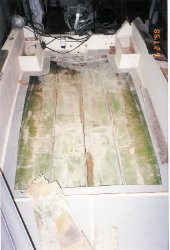
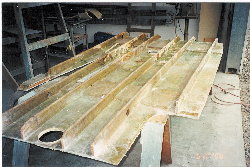
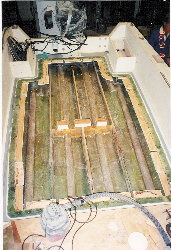
The original stringers were replaced with new ones cut to the same size and length. Additionally, intermediate stringers were installed, made from 4" PVC cut in half to form a "C" section. This gave us 7 stringers in the bottom, each covered with a minimum of 2 layers of heavy cloth and resin. Extra care was taken to hand roll out all the air bubbles and we allowed a week in the summer sun between layers of glass to let it really set up. A center support, heavier than the original, was reinstalled amidships with blocks glued by west system and fiberglassed. This ties all three stringers together to prevent them from torqing and provides support for the deck under the console. (A great deal of weight is concentrated on this spot because the fuel tanks are stored under the console, above the support) The edge of the deck still attached to the hull, and the edge of the large section removed, were each sanded to a sharp taper. This approx three inches of sanding would allow us to lay new cloth and not have a "bump" when we reattached the deck. As seen in photo #6 below, a flange was created out of marine plywood held in place with counter sunk stainless screws and glued with west system. (The only purpose of the flange was to give us something to rest the deck on so we could re-fiberglass it.)
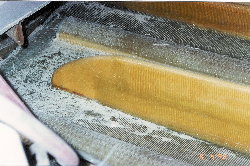
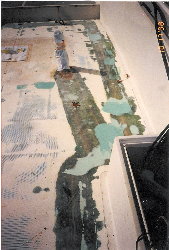
Before the deck was reattached, the PVC tube that the control cables ran through had to be refitted. I was in a pickle because I discovered the original was a size no longer available. With some fiberglass and the help of another friend who found me an NOS female/female connector, we were able to salvage the original. After several muscle pulling test fittings, we got the deck to lay into our flange nicely. It was west systemed to the flange and screwed in place. Two to three new layers of fiberglass were laid over the cut. Again, all the air bubbles had to be rolled out of the cloth, and we had to allow the resin several days to set up between layers. The new fiberglass and the old non-skid that was molded into the gel-coat on the deck all had to be sanded down to be nice and smooth and flush. This took a lot of time and sweat. By now I had developed a resistance to the fiberglass itchies! My ventilator and belt sander were earning their keep! As seen in photo #7, we had to be patient and sand and mud with a marine filler, (like bondo), to get everything nice and smooth.
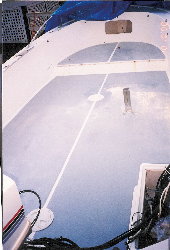
I gave the deck two coats of a marine epoxy primer. (This took it's sweet time to cure since the cool fall days had set in!) The last step was to give it a nice coat of epoxy gray paint and shake some non-skid into it, photo #8. (The new non-skid works much better than the original that was molded into the gel) As you can see, I taped off the white waterways and around the edge. This gave it a nice clean original look, and makes it so the difference in non-skid from the deck to the forward platform is hardly noticeable. I also mixed up some of the new closed cell 2 part foam and filled most of the space between the hull and deck. Hopefully it will react better over time than the original!
EPILOGUE
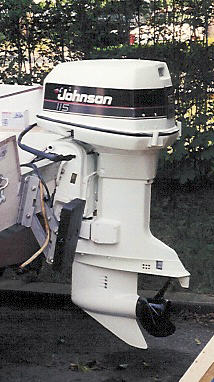
AND LET'S NOT FORGET THE ENGINE!
|
||||||||||||||||||||